|
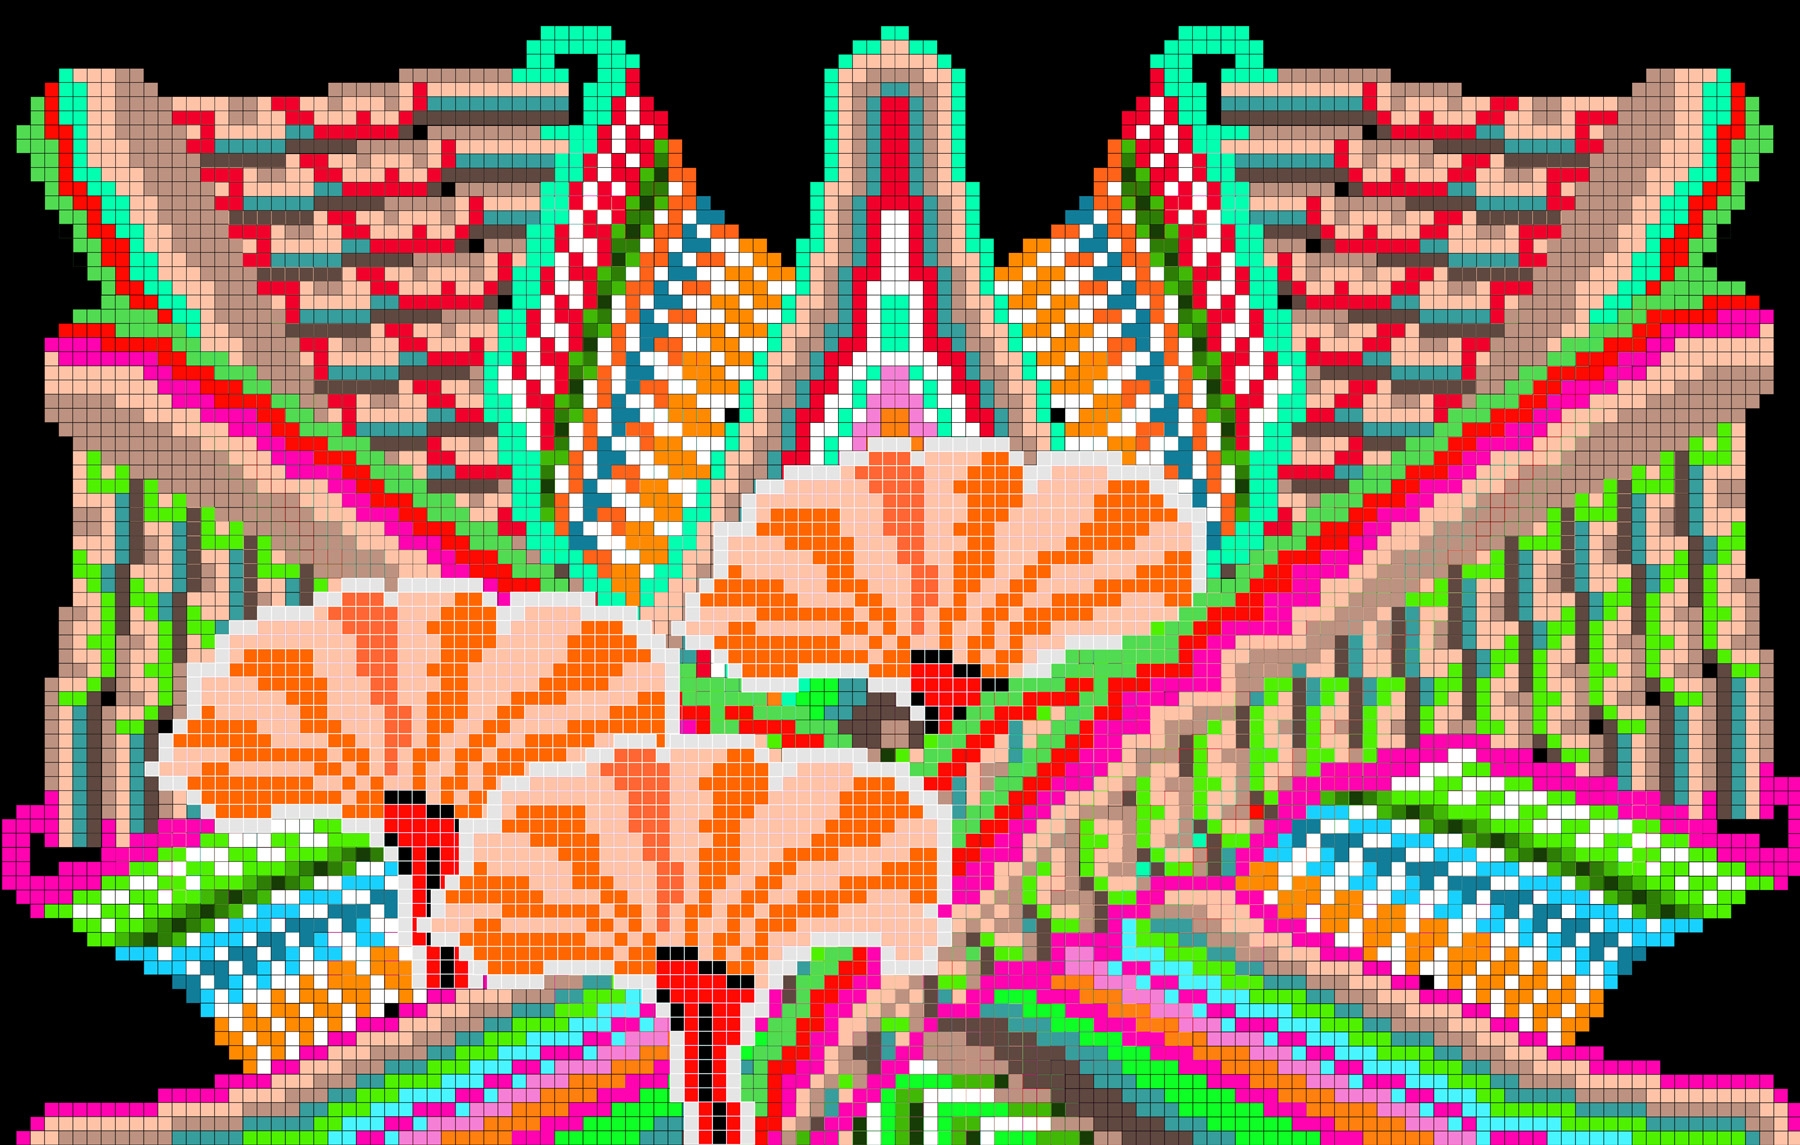
1. CrossStitchAutofill example.
CrossStitchAutofill.zip (1Mb)
Procedure for the this example is as follows:
1. Download the following file and save it to your computer. Unzip and open this design in evx.
CrossStitchAutofillRaw.zip (1Mb)
1b. Select All CNTRL A and delete.
(Or you can go directlty to step 6 as design was saved after step 5.)
2. Draw horizontal line on the top of the backdrop and change its color to red.
3. Move the Red line on the top most row.
4. Duplicate the line with x-> 1, Y-> 82 (Is the number of boxes in Y axis), xDistance 0, y Distance 5
Simmilarly Vertical lines
2b. Draw Vertical line on the Middle of the backdrop and change its color to green.
3b. Move the green line on the Middle of the column.
4b. Duplicate the line with x-> 127 (Is the number of boxes in X axis), Y-> 1, xDistance 5, y Distance 0
5. Select All CNTRL A . Unfill All CNTRL SHIFT W
6. Select By red color.
7. Crop
8. Del (Delete all red lines).
9. Select All cropped lines. CNTRL A
10. Pickup color (Command in the pallet).
11. Join Neiborhood. (Command in the pallet).
12. Apply line fill with the same parameter as in the final example CrossStitchAutofill.zip.
13. And you will get the same results as in CrossStitchAutofill.evx.
14. That is the power of Evx.
|